
If you’re like me, you’ve been using Photoshop for a decade. You know all the shortcuts, filters and little tweaks to optimise your workflow and perhaps you’ve adjusted your workspace with nifty extensions too. Sounds like you? If you’ve been curious how to use Photoshop for pixel art effectively then this is for you. <3 I’ll show you in 5 easy steps how to configure Photoshop for your next pixel art masterpiece.
Disclaimer: If you’re new to digital art and don’t have a Photoshop license yet, there are cheaper and easier alternatives that are specifically designed for pixel art, for example Aseprite. That being said, Photoshop is an enormously powerful tool worth learning and all my pixel art animations were created with it.
Let’s go!
At a Glance
- Crispness is everything
- Pixel goodness with pixel brushes
- Swatches & palettes
- Transforming & Scaling
- Exporting to the World
1. Crispness is Everything
When starting out with a fresh install of Photoshop, you’ll find it making every attempt possible to smooth out your brush strokes and transformations. That’s useful at high resolutions but for pixel art we’ll want to make sure we can polish everything down to the pixel-level. Whenever you find Photoshop drawing unwanted extra-pixels, the offending setting can usually be found in the tool bar. Let's go through all of them:
1.1 Selection/Marquee Tool
The selection tool is the simplest to configure. Make sure "Feather" is set to 0px and you are all set for crisp selections:
![]()
1.2 Lasso Tool
The lasso tool will make a fuzzy selection by default. Set "Feather" to 0px and untick the "Anti-alias" checkbox to get a pixel-perfect selection.
![]()
1.3 Magic Wand Tool
For crisp selections with the magic wand, set the sample size to "Point Sample" and "Tolerance" to zero. The anti-aliasing checkbox should be unticked.
![]()
1.4 Eyedropper Tool
Not much can go wrong with the eyedropper tool but to keep colour count low, setting the sample size to "Point Sample" is a good idea.
![]()
1.5 Pencil Tool
No more fuzzy edges: Choose the pencil brush by right-clicking the brush icon in the toolbar. Opacity should be set to 100%. Smoothing should be set to 0.
![]()
1.6 Eraser Tool
By default the eraser tool is a "Brush" but for crisp pixels set it to "Pencil". As always: Opacity should be set to 100%, smoothing should be 0.
![]()
1.7 Paint Bucket Tool
For the paint bucket tool, opacity should be 100% with tolerance set to 0 and anti-aliasing turned off. Filling areas will now be pixel-perfect.
![]()
1.8 Dodge Tool
Always use a brush with hard edges for the dodge tool to avoid adding a lot of colours which might make your artwork look blurry.
![]()
Final Check
Make some example brush strokes with black colour on a small canvas (64×64 pixels) and zoom in really closely (800% or 1000%). If all pixels look super crisp, you’re good to go. If some neighbouring grey pixels appear, revisit the gallery to check out whether you missed a setting.
2. Pixel Goodness with Pixel Brushes
When you browse the default brushes available in Photoshop, you’ll quickly notice that most of them have round or smooth edges. Remember this ground rule: No anti-aliasing.

So for crisp pixels, we have to use a brush with no smoothing which makes “Hard Round” a good choice. In fact, it will serve us well for most of our pixel art magic. Choose a small pixel size and make sure the hardness is set to 100% to avoid any kind of anti-aliasing when placing individual pixels.

3. Photoshop Swatches and Palettes
There are two types of pixel artists: Those who embrace the challenge of using as few colours as possible and those who legitmately do not care… Feel free to use an insane amount of colours like pixel artist @8pxl, neon gradients like @kryssalian or push the pixel art business even further and add light effects to your artworks like @abueloretrowave does.
If you’re new to pixel art, I do encourage you to download a readymade palette and keep the colour count to 10-30 colours. Especially if you’re coming from a background in digital art, the blending and shading techniques you’re used to will tend to make your pixel artwork look blurry.
Lospec.com is an awesome resource for palettes and lets you filter by many different tags. You can download them in *.ase format which you can import into Photoshop, or you simply download a *.png and place it into your artwork as a separate layer.

In Photoshop, we’ll populate the Swatches menu with our palette as the default one isn’t too useful. If it’s not on your workspace, you can enable it via the Photoshop menu “Window” -> “Swatches”.
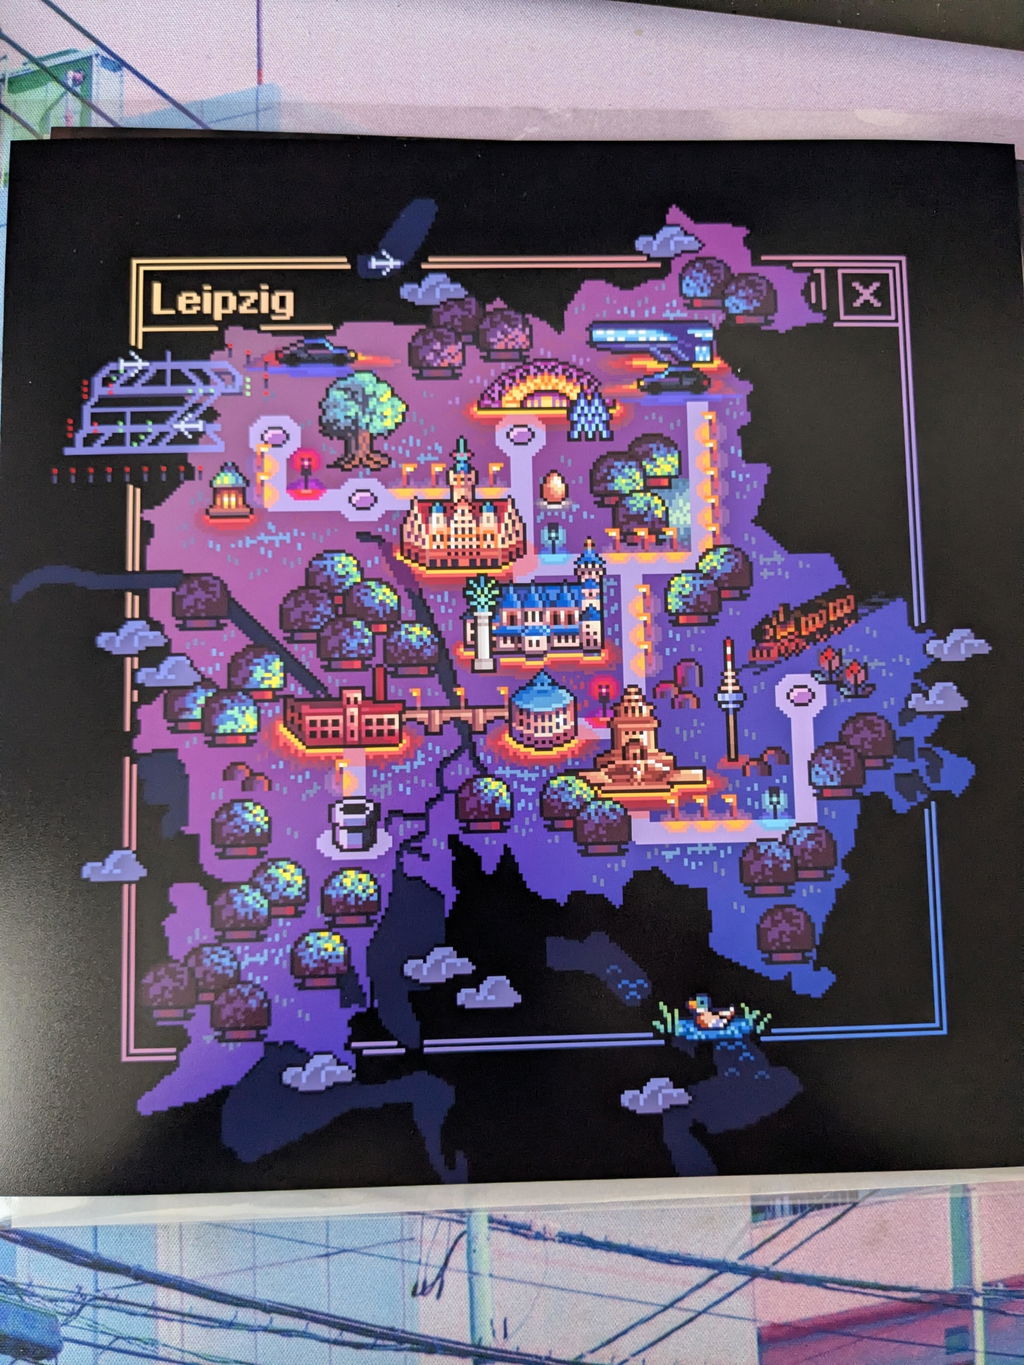
Personally, I structure my palette groups by “mood”. For example, my artwork “Rainy Night” pretty closely followed my palette of the same name (see below) that I prepared before starting to work on it. Try to stick to a fixed set of colours for your first artworks until you get the hang of it. It’s fine to purposefully add another colour to the palette when you find one is missing — just beware of shapes becoming blurry when you use too many.

4. Transforming & Scaling
Similar to the smoothing options we found in our brush settings, whenever you resize a selection, a layer or the entire image, by default Photoshop will try to soften the edges. By now you’ve probably developed a slight paranoia of anti-aliasing checkboxes, so time to introduce you to another setting you’ll frequently stumble upon: In order to keep our pixels crisp and sharp, we need to choose “Nearest Neighbor” for interpolation which will avoid all blurriness. Look out for the interpolation options like here in the Transformation toolbar:

Scaling
In order for resizing to work correctly, make sure you always use whole numbers. An example: If you double the size of a pixel (i.e. transforming to 200%), it will become 4 pixels while retaining its original shape. Avoid odd factors such as 1.5 (i.e. 150%) as it would distort the shape. A rule of thumb: Always scale in percentages and keep two zeros at the end (200%, 300%, 1500%, etc.).

Original: 10px. Scaled up by an even number.

Original: 10px. Scaled up by an odd number and thus distorted.
5. Exporting to the World
When creating an artwork at 64 x 64 pixels, it’s much too small to show anyone. You have two options: Resizing the image or exporting the image at a larger size. My advice is to avoid resizing the original image in Photoshop because if you ever revisit it to make changes, you’ll find that one pixel will no longer be the size of one pixel. Such a source of all kinds of trouble. To be safe, use Photoshop’s “Export” option instead:
![]()
Path to Photoshop's export functionality
On the export screen, switch the format to PNG. This is important because PNG (and GIF) are the only formats that will keep the edges of our pixels crisp. JPG will compress the image (i.e. remove some detail) and cause edges to become softer. The key difference between PNG and GIF is that GIFs support a maximum of 256 colours, so in case you used more than that – choose PNG.
There are two different options for enlarging your pixel artwork: “Scale All” on the left, or “Image Size” on the right. You can use both together or just one of them but the “Scale All” is limited to a factor of 5x (or 500%). If in doubt, use “Scale” in the “Image Size” area with “Resample” set to Nearest Neighbour as usual.
![]()
Using both scaling options in Photoshop's "Export As..." dialog on a 10x10px image. The result is a 250x250px image.
That's It -- Recap!
- Turn off all anti-aliasing, smoothing and feather (for crisp edges) and disable transparency (for fixed colours).
- Use pencil brush and pencil eraser (for pixel-perfect strokes).
- Try to stick to colour palettes (at least initially to avoid accidental blurriness).
- Use “Nearest Neighbour” when transforming, scaling and exporting.
- Scale up by whole numbers only so all details retain their shape.
In 5 steps I’ve shown you how to make Photoshop ready for your next pixel art masterpiece. Thanks for reading and I hope you found it useful. Questions or suggestions? Leave a comment below.
Share:
10 Things I Wish I Knew Before Starting Pixel Art